Slant Six Forum https://slantsix.org/forum/ |
|
Twiggy - Long Rod Aluminum Block Engine Build-up https://slantsix.org/forum/viewtopic.php?t=23948 |
Page 14 of 25 |
Author: | SlantSixDan [ Fri Oct 12, 2007 5:52 pm ] |
Post subject: | |
Damn, that aluminum cylinder head is pretty! |
Author: | Doctor Dodge [ Sun Oct 14, 2007 7:51 am ] |
Post subject: | Head Installation |
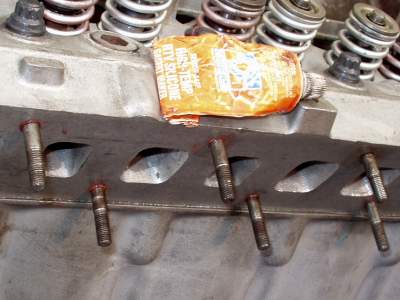
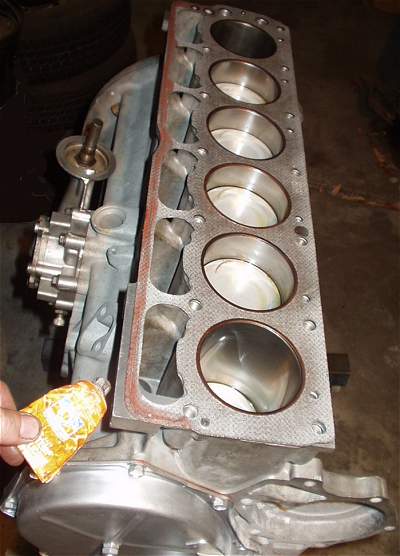
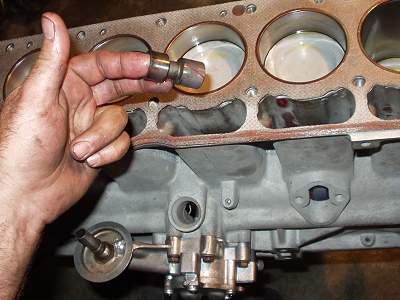
I have checked, measured, cross-checked, fussed and fiddled.... Time to install this head! I run a light bead of High Temp. RTV along the outer "lifter rail" edge of the gasket, this ensures a leak-free seal there. The main gasket surfaces get a light coat of spray-on "Copper Coat" sealer... Oh... I almost forgot, get the lifters installed before you put the head on, it is a lot easier to do it with the head off! (with later heads, you can not install the lifters with the head on) DD |
Author: | Wizard [ Sun Oct 14, 2007 12:00 pm ] |
Post subject: | |
Getting there! About the RTV, I'm aware is there RTV shelf life once they are opened? Because your tube looks really old? Cheers, Wizard |
Author: | dakight [ Sun Oct 14, 2007 2:06 pm ] |
Post subject: | |
It will eventually cure within the tube, even if tightly capped. If it flows easily it should be good but if it "mealy" when it comes out I would discard it and get a fresh supply. |
Author: | Doc [ Mon Oct 15, 2007 6:16 pm ] |
Post subject: | |
I use the high temp (orange) RTV on many different things so the tube gets lots of use. This product seems to have better shelf life then the regular RTV. The product coming out of my current tube is good but as noted, if that well worn tube springs a leak, it is not long before the remaining contents cures inside the tube. Anyway... used-up more of the stuff sealing all the manifold studs into the head. Yes, all of these holes went into the water jacket on this head. DD |
Author: | Doctor Dodge [ Mon Oct 15, 2007 10:36 pm ] |
Post subject: | |
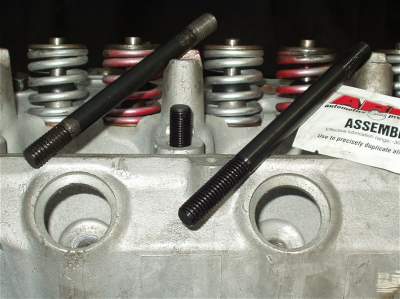
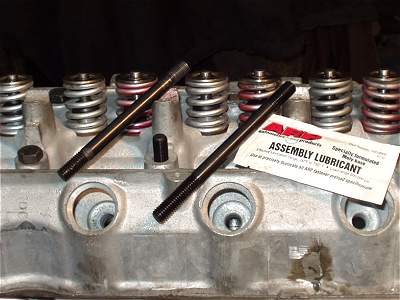
Opps... got "a head" of myself on that post! I am using special ARP head studs on this engine so I did all the thread chasing and fit checks before starting the head installation. The Aluminum SL6 studs have a much longer course thread, in order to get deeper engagement into the alloy block. (a regular cast iron SL6 head stud is on the left, the alm block version on the right) Have you ever tried to "stab" a 14 bolt hole head onto 14 standing, 5 inch long studs? I don't even try... instead, I position the gasket and head, then hold it down with couple of conventional head bolt, then screw-in all the studs after the head is in position. DD |
Author: | Doctor Dodge [ Wed Oct 17, 2007 10:21 pm ] |
Post subject: | On with the head! |
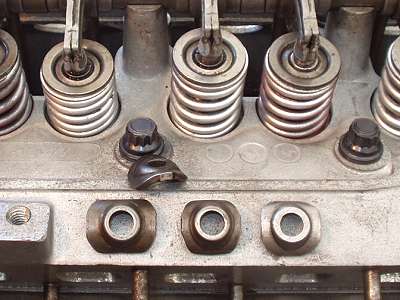
One other "trick" I use to set a head onto a SL6 engine is to bolt a bare rocker arm shaft to the head and use it as a handle. This really helps with the 80 lb iron head. DD |
Author: | slantzilla [ Thu Oct 18, 2007 10:07 am ] |
Post subject: | |
Can't wait to see this thing run Doug. What is it going into and when? |
Author: | Doctor Dodge [ Thu Oct 18, 2007 10:21 pm ] |
Post subject: | |
I have 3 different cars that this engine could go right into, including the Lancer race car. Given the type of engine it is... I will more then likely install it into the Dacuda. The bad news, that car runs well with the current engine it has, I have second thoughts about changing anything on the car seeing it runs so well. DD |
Author: | Doctor Dodge [ Thu Oct 18, 2007 10:30 pm ] |
Post subject: | Get the Rocker Arms Installed... |
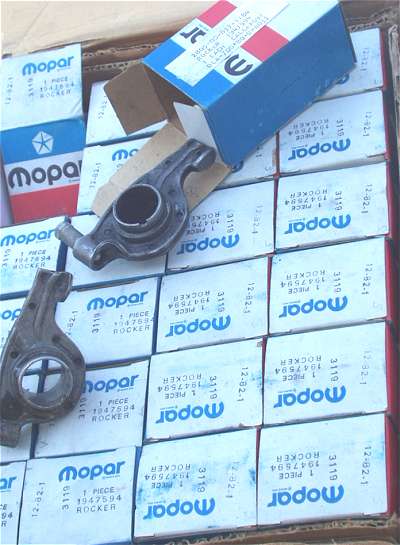
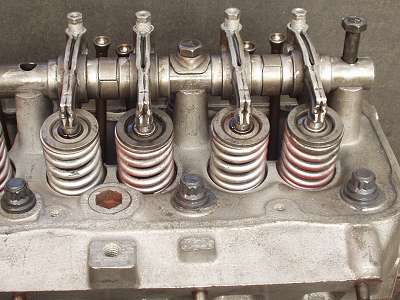
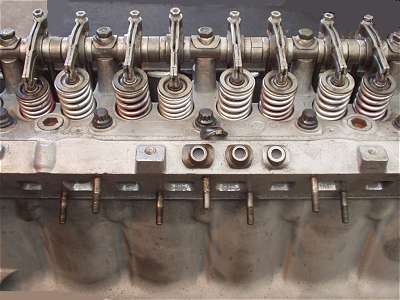
Now that the head is on, don't wait to install the push rods and rocker arm shaft. Remember, the lifters are sitting there in their bores with nothing but gravity holding them in. If you move on to something else.... like installing the oil pan, you end-up with lifters on the shop floor. (don't ask me how I know ) I pulled-out a box full of NOS Mopar rocker arms that have been waiting for a good home. DD |
Author: | Aggressive Ted [ Fri Oct 19, 2007 10:59 am ] |
Post subject: | |
Doug, Is the head using stock diameter valves? or the larger after market ones sold on eBay? Also, are the rockers stock 1.5's or 1.6's. Thanks, |
Author: | Doc [ Fri Oct 19, 2007 5:38 pm ] |
Post subject: | |
Yes, the aluminum head is using the factory valve size but the valves are new, have been back-cut and the stems on the valves have been reduced. More important is the meticulous multi-angle seat and valve face grinding work, combined with basic pocket porting and a gasket match job. Understand that this aluminum head already has harden valve seat inserts, pressed into all the locations and it also has pressed-in cast iron valve guides. All these parts are "like new" so I want to get some use out of the stuff before making any major changes. DD |
Author: | Doctor Dodge [ Fri Oct 19, 2007 8:05 pm ] |
Post subject: | Get the Shaft... |
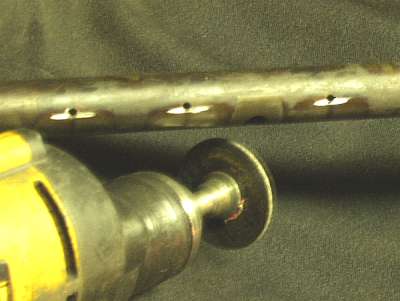
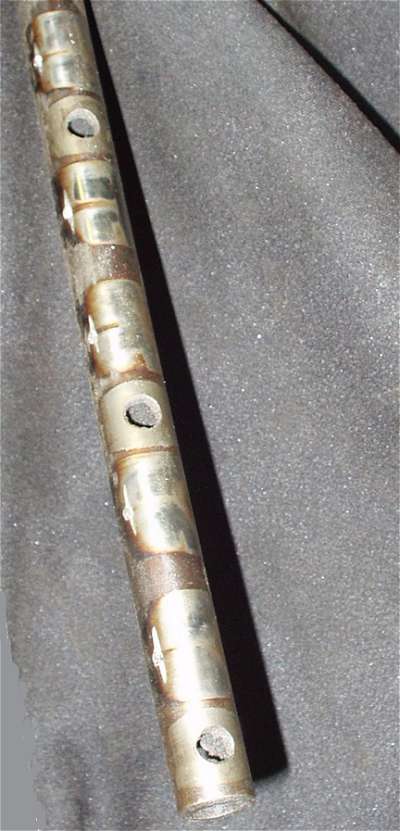
I went thru the stack of rocker arm shafts and picked-out a good used one. Took my "wizzer wheel" and "banana grooved" a slot across each oil outlet hole. This is done to spread-out the oil across the wear surfaces. Here is another view of the shaft with grooves: After the grooving, I punched-out the shaft's end caps and gave the unit a good sanding and cleaning. One cleaning tip... I found some Army surplus gun cleaning kits at a swap meet, the kit has wire brushes and extension rods... this works great for cleaning a SL6 rocker arm shaft! DD |
Author: | Doctor Dodge [ Mon Oct 22, 2007 6:58 am ] |
Post subject: | Rocker Shaft Assembly Tips |
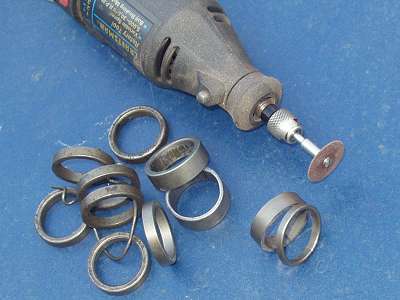
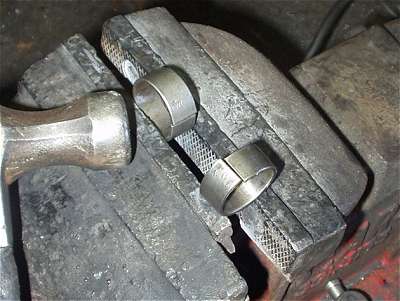
Putting all the rocker arms onto the shaft is pretty straight forward. You need to find the index mark "flat spot" on one end of the rocker shaft that shows the correct oreantation of the oil holes, then load the r. arms and spacers. Before doing this, I blow thru all the rocker arm oil passages and sort them based on how they flow. The r. arms that flow less go on the intake valves and the ones that flow the best get installed in the exhaust positions. I also keep the best flowing ones to the front of the shaft so these don't "bleed-off" a lot of pressure where the oil comes into the shaft at the rear of the head. I pay close attention to how well the rocker arm's contact pad centers over the valve stem. You can adjust this positioning with the rocker shaft hold down bolt spacers and with different shaft spacers. In the past I've spent a lot of time making special spacers to go in-between the rocker arms in order to get the correct centering... These days, I 'cheat' and simply bend the spacer rings so they act a little wider then they are. (grind-off the sharp corners after bending) After a few trial fits and fussing around by bending spacers and grinding the tabs on the bolt hold-down spacers, I had everything well centered and tightened down. DD |
Author: | argentina-slantsixer [ Mon Oct 22, 2007 6:21 pm ] |
Post subject: | |
ahhh... my daily dose of slant porn! that's one beautiful work doug! thanks for sharing |
Page 14 of 25 | All times are UTC-08:00 |
Powered by phpBB® Forum Software © phpBB Limited https://www.phpbb.com/ |