Slant Six Forum https://slantsix.org/forum/ |
|
Exhaust Manifold Finally back to work on the old truck https://slantsix.org/forum/viewtopic.php?t=44536 |
Page 1 of 2 |
Author: | 65Dodge100 [ Fri Apr 15, 2011 11:23 am ] |
Post subject: | Exhaust Manifold Finally back to work on the old truck |
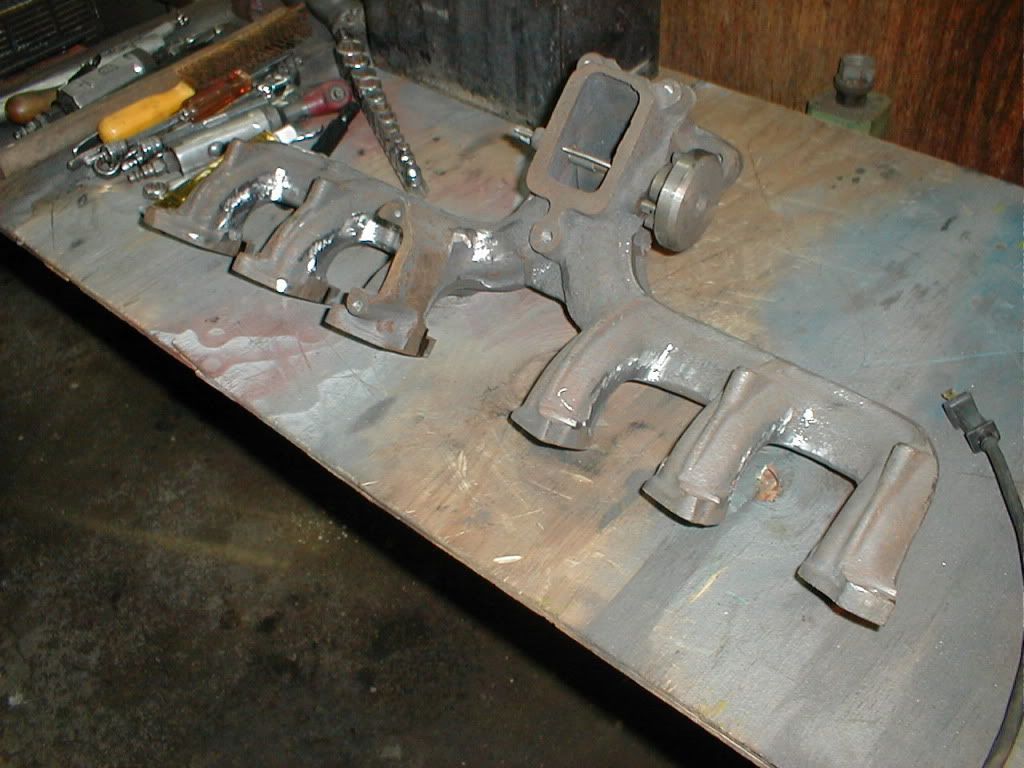
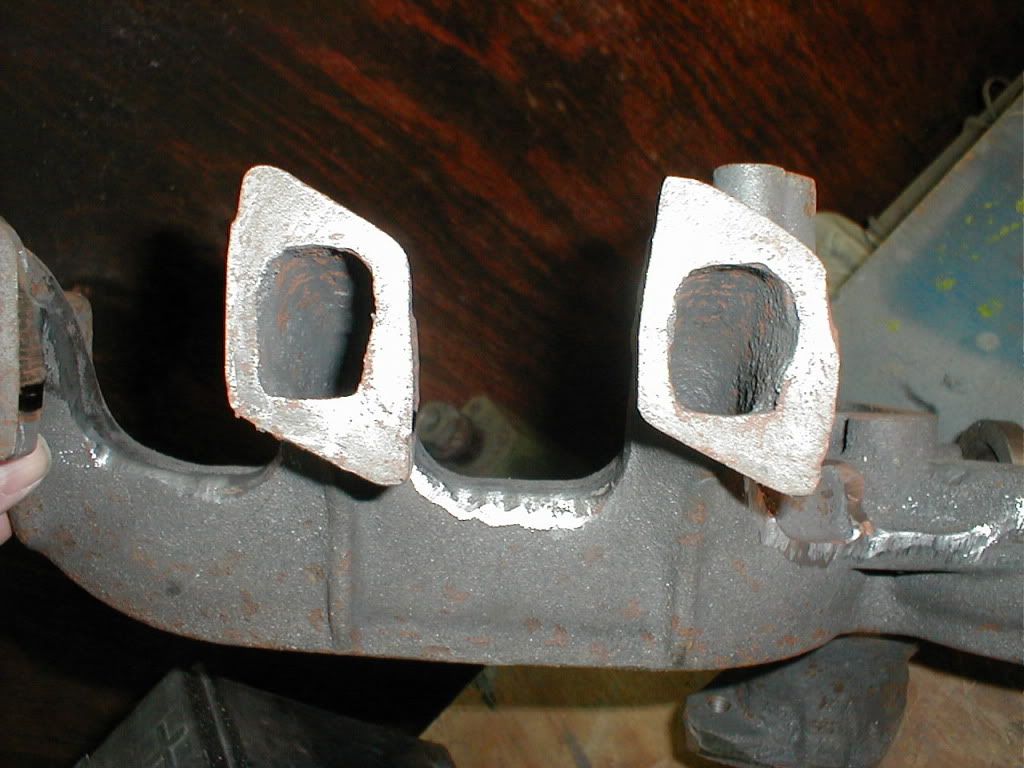
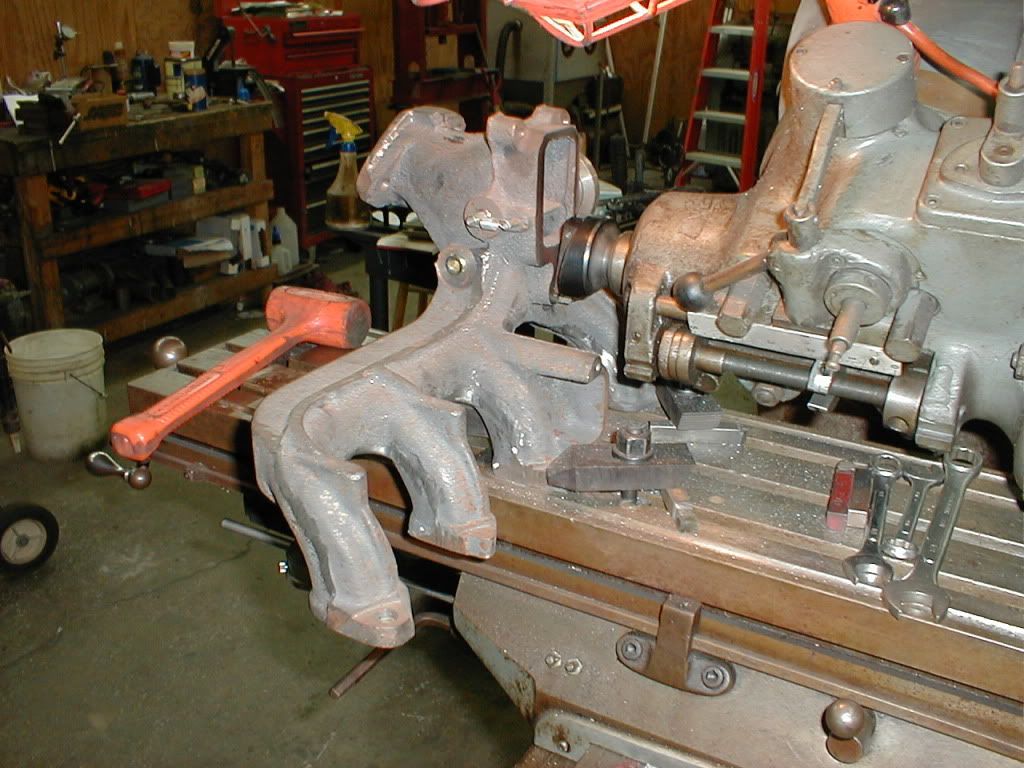
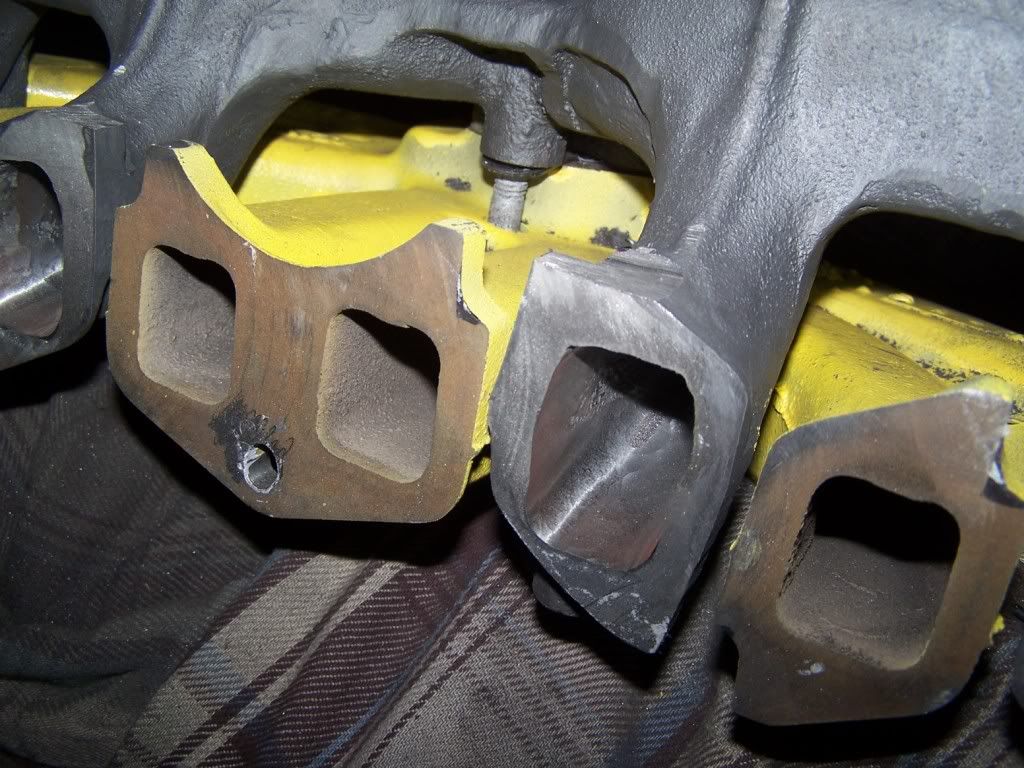
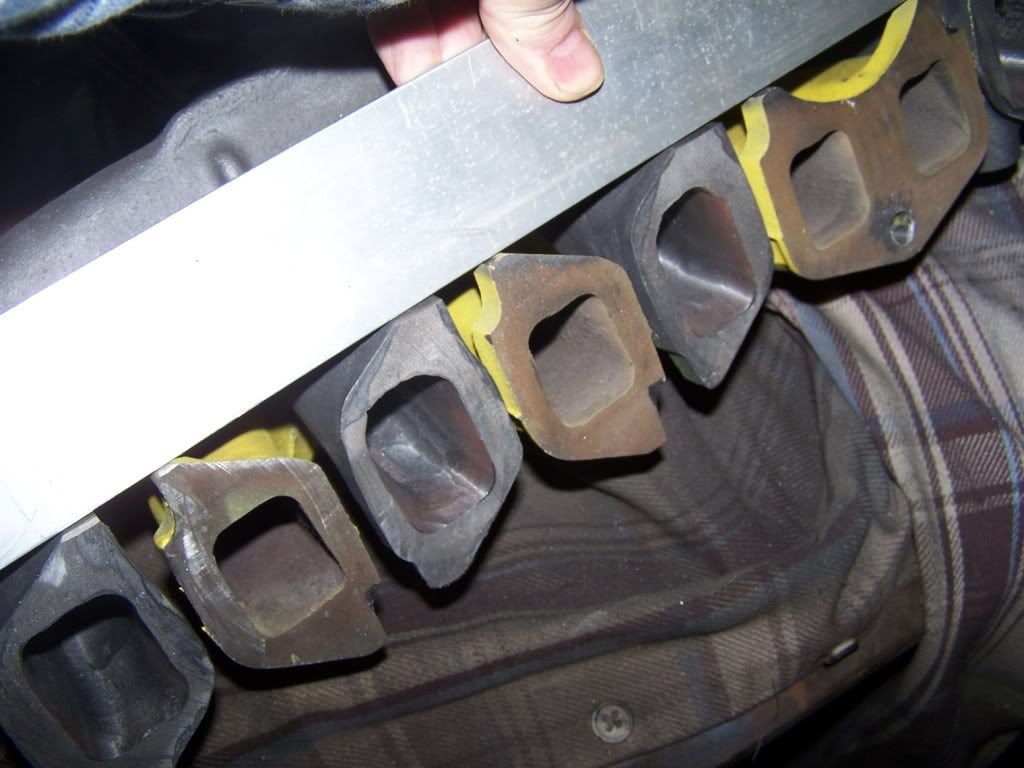
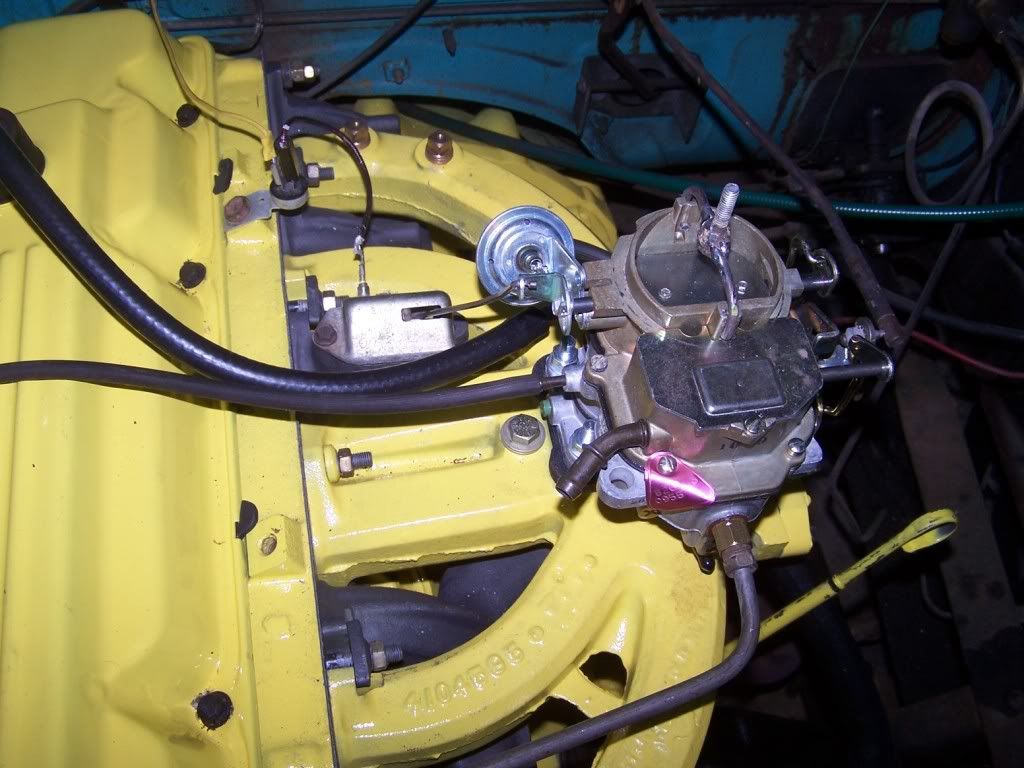
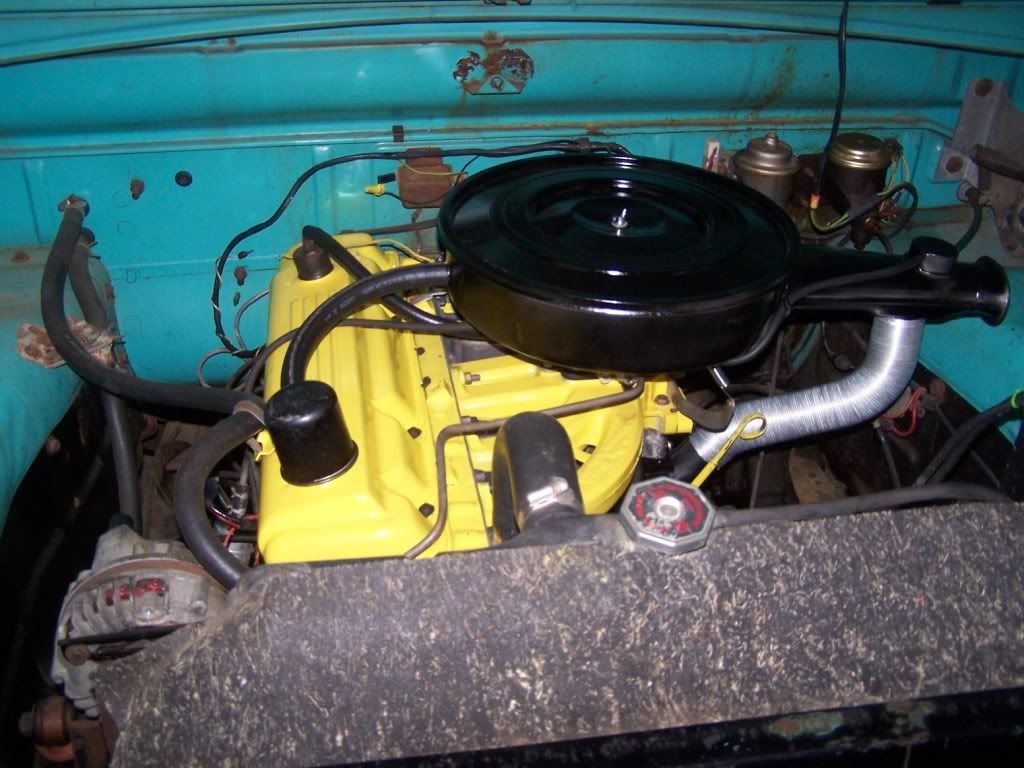
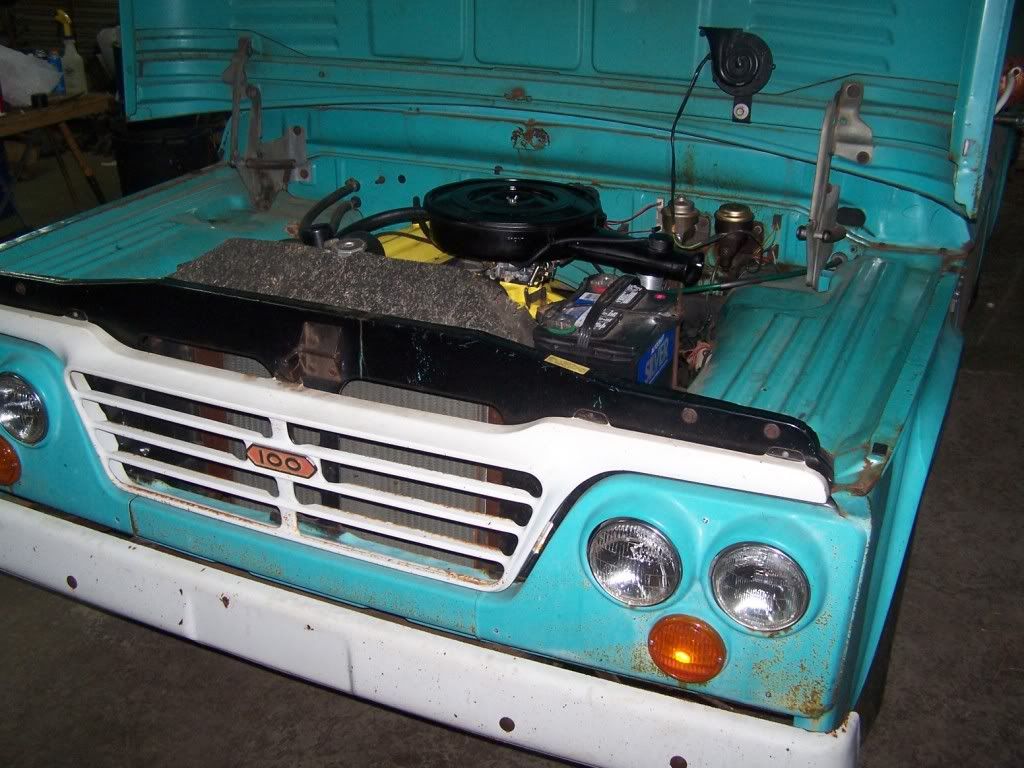
Hi everyone. Haven’t been around in a little while. In the last 10 years I’ve had a lot of ups and downs. Mostly downs. One good thing is that I’ve studied on this site until my eyes bled and took notes enough to write my own manual. I’m sick of reading them now though so I may have lots of questions in the next few weeks. I just started feeling well enough to get back to work on the old truck. It’s off and on and I can only do a small bit at a time but thats a ton next to what I’ve done in the last 10 years. I finished milling my manifolds - I have my own shop but that is better left to an automotive machine shop if you have one handy. It’s not even very expensive. Took me about 3 days and a chance to ruin them for good. I don’t know. Now that I know how ... Nah! Finally found the VHT yellow to spray around the hot box. I wanted to experiment and see if I can keep it from burning off right there. Painted my valve cover today. I’m still not happy with the yellow. They just weren’t that canary-ey. More of a tan really. I’m cleaning farther down now under the grease. I just don’t believe it’s faded like that but it doesn’t really matter. That color is unavailable on this planet in 500 degree paint unless you buy a 55 gal drum mixed to your standards. I’m just guessing but it’s pretty impossible as far as I know. Also painted my exhaust manifold with the Eastwood manifold paint. I’ve had good luck with it in the past. Both manifolds are deburred and ready to bolt together. There has been a ton of work on them in the last few years as I was able - mostly planning. .003 at the hotbox makes 1/32 difference at the ends. Moving one end from the center moves both ends so you divide it in half, then deal with it screwing up the good end while fixing the bad end. Maybe I got the only crooked manifold but I’d bet some others need that part milled. There will still be a small amount of porting just to make everything line up with the crooked original lopsided put the holes wherever they wanted head correctly. NOTHING fit exactly right now or ever as far as I can tell. The hole in the center of two intakes (so far) is drilled off but there wouldn’t be much way for them to fix it with no porting work. I’ll have to do all that again if I ever work the head. Also had some very good luck removing all of my manifold studs and cleaning the mounting surface. Took a little cherry red heat for a few of them, mostly the top row, but they all came out. I had to heat the bottom on one and now I’m worried about my head gasket. It’s gonna come apart a lot easier next time. Cleaned the block to ready it for paint. started with muriatic acid but I didn’t spend enough time for it to really help much. Ended up grinding it down with the gasket cleaning whizzer under where the manifolds will go. I’m only painting one half of the engine this time which doesn’t make much sense but the other side is greasy and I can’t wash it properly until I can get it outside. I have a few rusty places on the firewall from the brake fluid leaking but she’ll look pretty good after all of that is blasted and touched up. Need some mirrors. Check out my post in the parts wanted section if you have any. Danny |
Author: | 65Dodge100 [ Thu May 26, 2011 8:02 am ] |
Post subject: | |
Author: | SlantSixDan [ Thu May 26, 2011 10:27 am ] |
Post subject: | Re: Finally back to work on the old truck |
Quote: I’m still not happy with the yellow. They just weren’t that canary-ey. More of a tan really.
Nope. They were yellow. Not a completely saturated yellow, it was somewhat pale, but it was definitely yellow and not tan. John Deere yellow is only slightly too saturated to match the original.
|
Author: | olafla [ Thu May 26, 2011 11:08 am ] |
Post subject: | |
Interesting thoughts on the castellated nuts. I asked for comments a while back on these nuts: Two-Piece Thread-Clamping Locknuts From McMaster-Carr's description: "Also known as drake-style locknuts, these reusable, two-piece locknuts have greater holding power in high-vibration applications than expanding and nylon-insert locknuts. To use, first tighten the lower nut, and then the mating upper nut. The flexible slotted crown on the lower nut compresses and clamps the nut to your bolt or stud. Ideal for use with Grade 5 and B7 bolts and studs. Nuts are made from steel and have a Class 2B thread fit." If I understand it correct, in theory, one could torque the inner nut to specifications, and then fasten the outer nut without changing the inner nut's torque settings. What are your thoughts on such a solution? Olaf. |
Author: | emsvitil [ Thu May 26, 2011 1:36 pm ] |
Post subject: | |
Quote: Interesting thoughts on the castellated nuts. I asked for comments a while back on these nuts: Two-Piece Thread-Clamping Locknuts
I think you could get the same effect with a jam-nut.......
From McMaster-Carr's description: "Also known as drake-style locknuts, these reusable, two-piece locknuts have greater holding power in high-vibration applications than expanding and nylon-insert locknuts. To use, first tighten the lower nut, and then the mating upper nut. The flexible slotted crown on the lower nut compresses and clamps the nut to your bolt or stud. Ideal for use with Grade 5 and B7 bolts and studs. Nuts are made from steel and have a Class 2B thread fit." If I understand it correct, in theory, one could torque the inner nut to specifications, and then fasten the outer nut without changing the inner nut's torque settings. What are your thoughts on such a solution? Olaf. |
Author: | olafla [ Thu May 26, 2011 2:28 pm ] |
Post subject: | |
Ed, it is so easy to drown oneself in tech details, and forget the basics, so thanks for setting me straight - you're absolutely right when it comes to locking a nut at a preset torque level with another nut. On the other hand that method is kinda harsh on the stud's threads over time, and the drake-style nut at least solves that problem. Olaf. |
Author: | 65Dodge100 [ Thu Nov 03, 2011 5:17 pm ] |
Post subject: | |
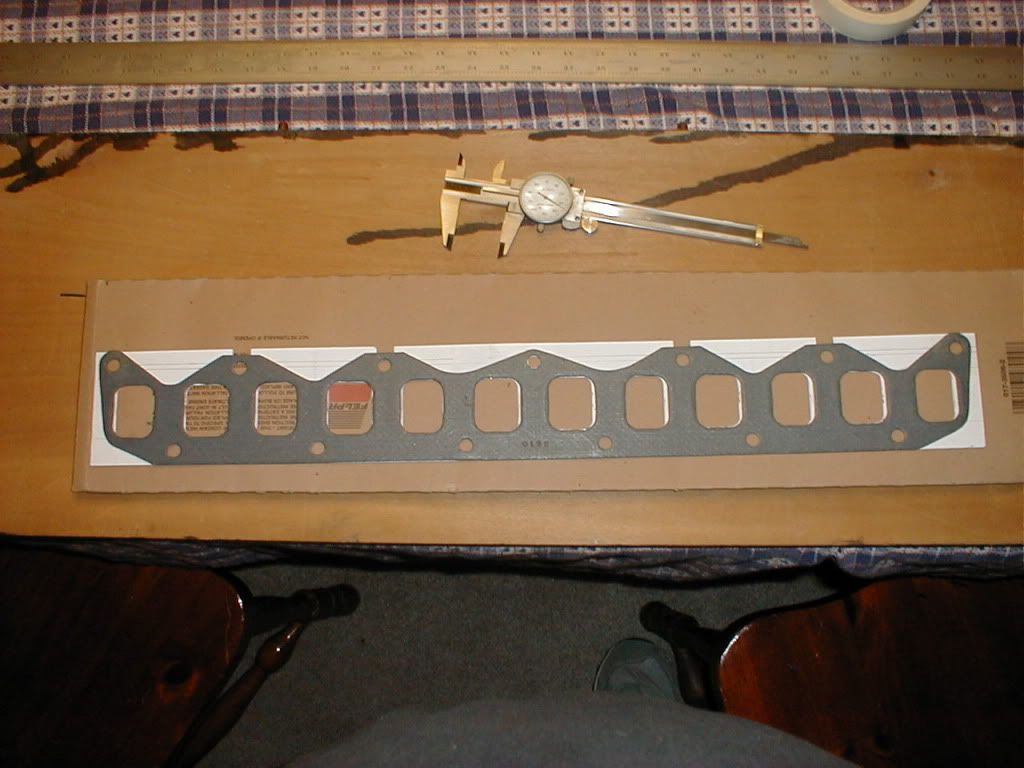
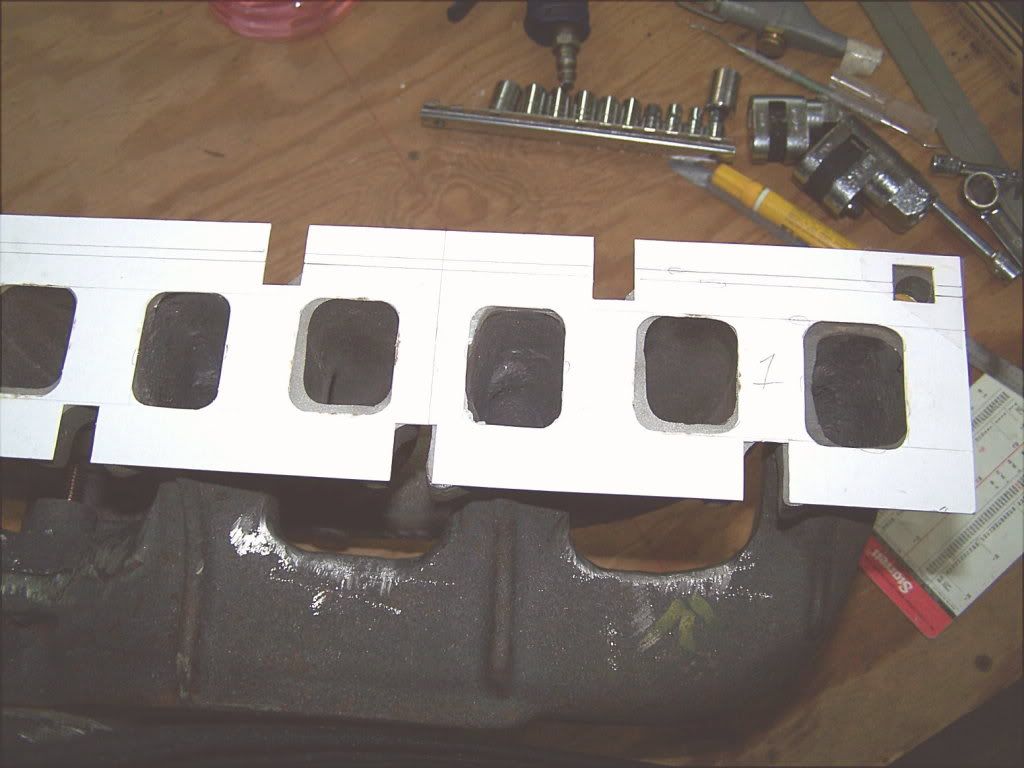
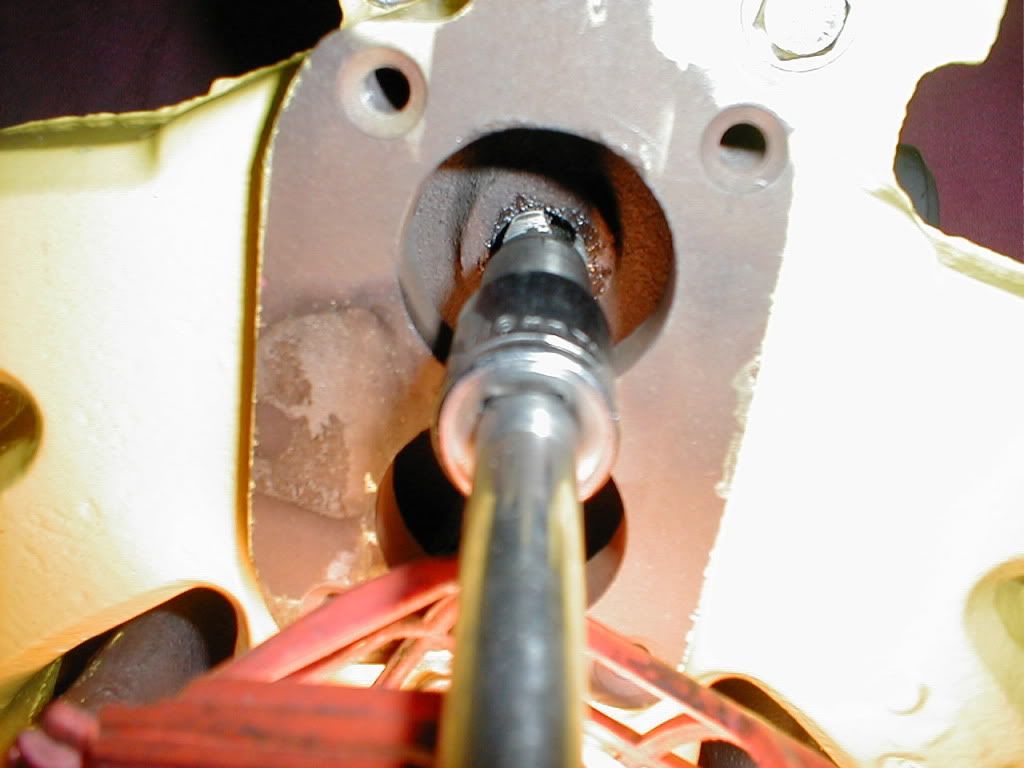
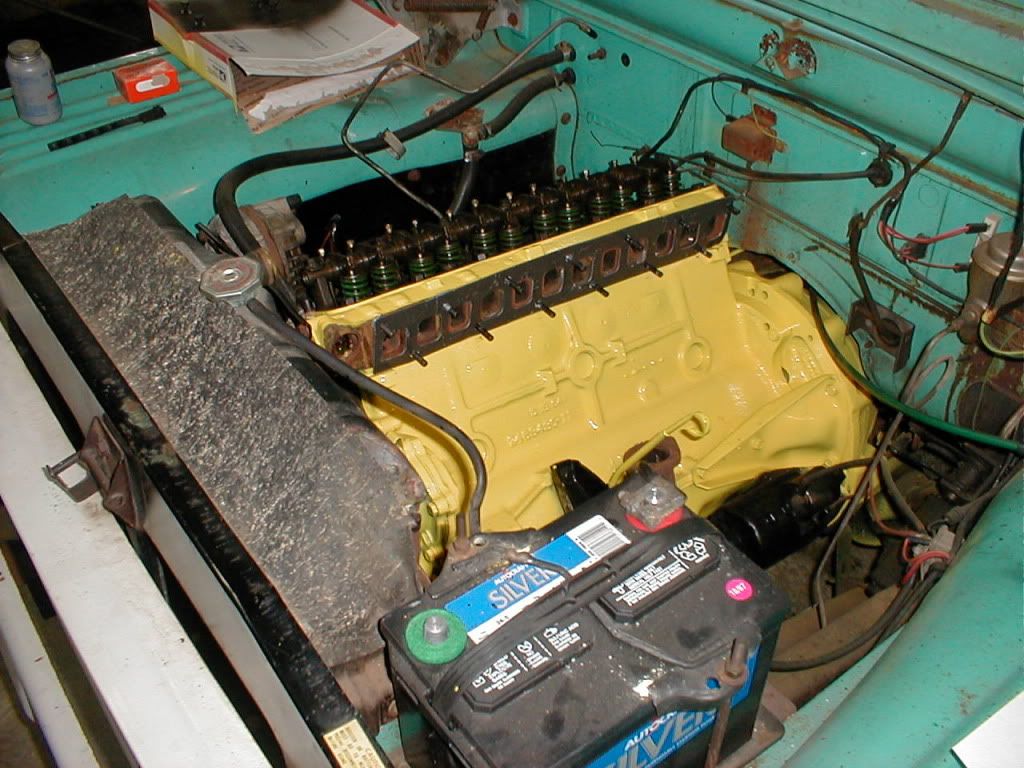
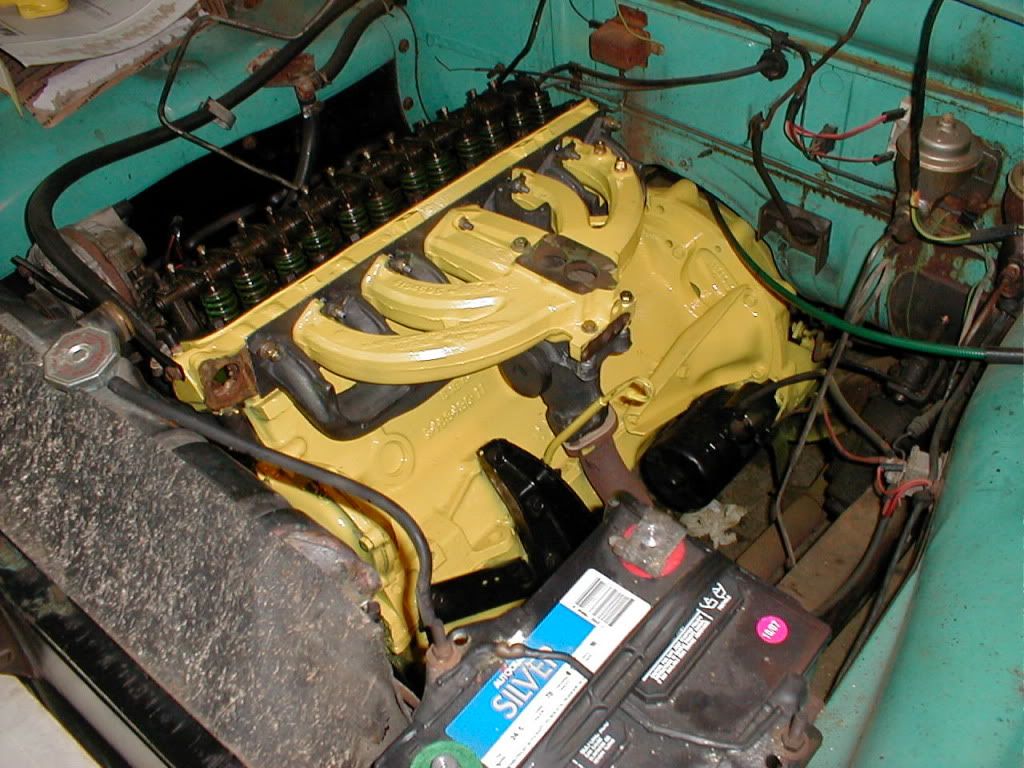
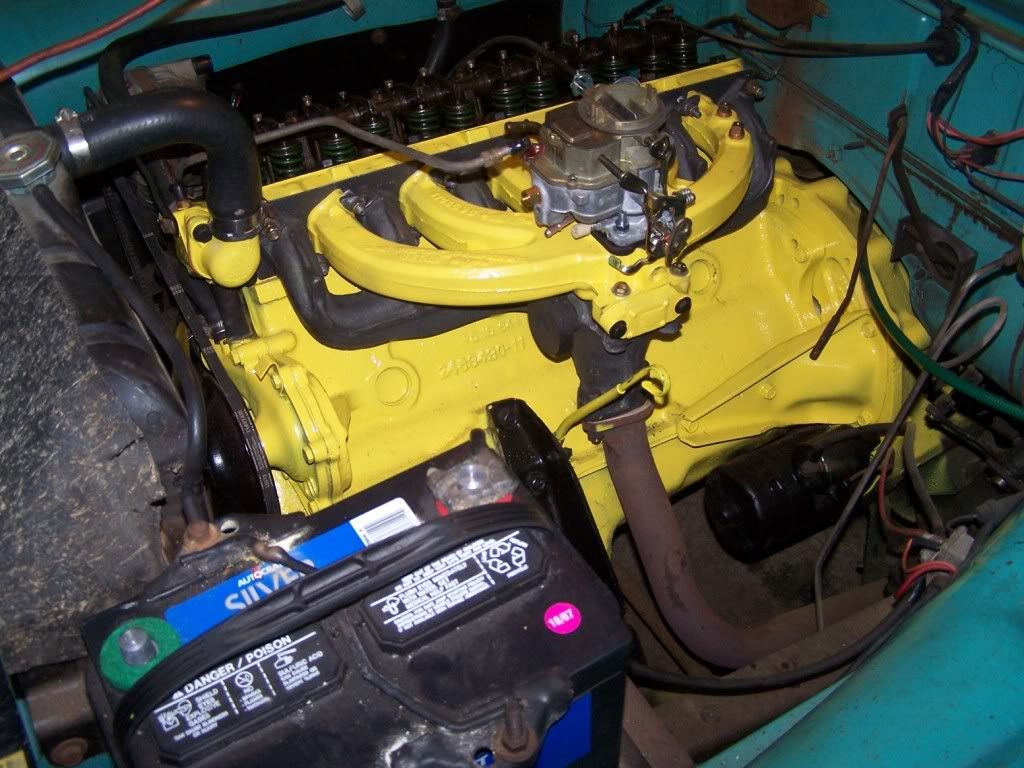
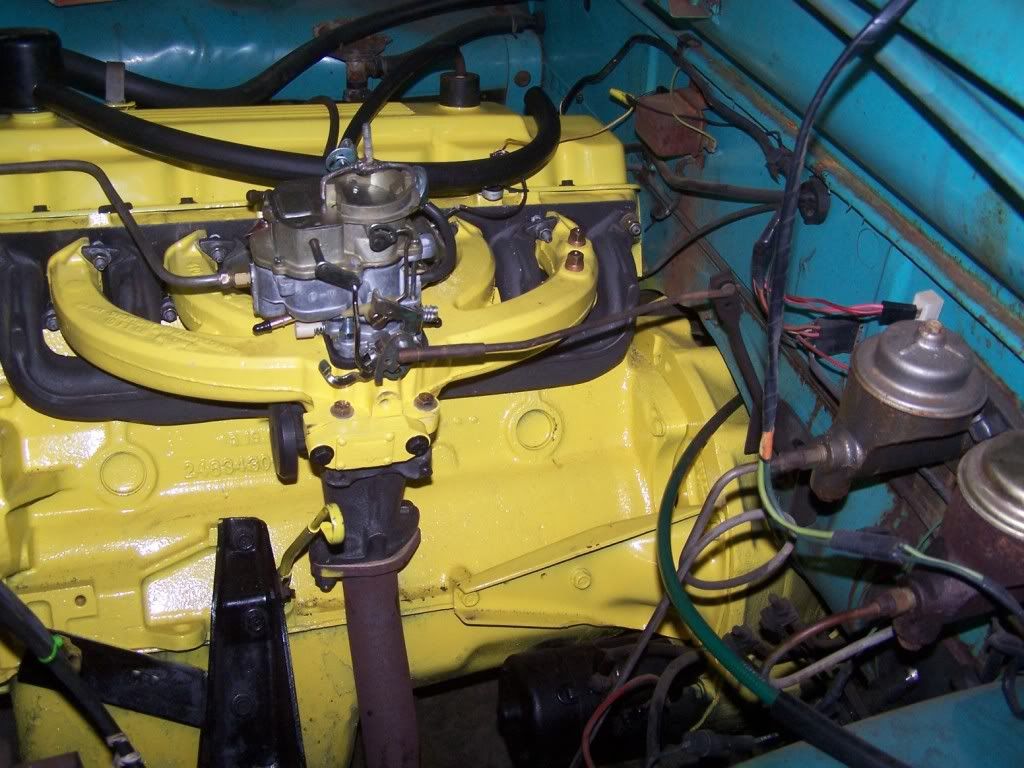
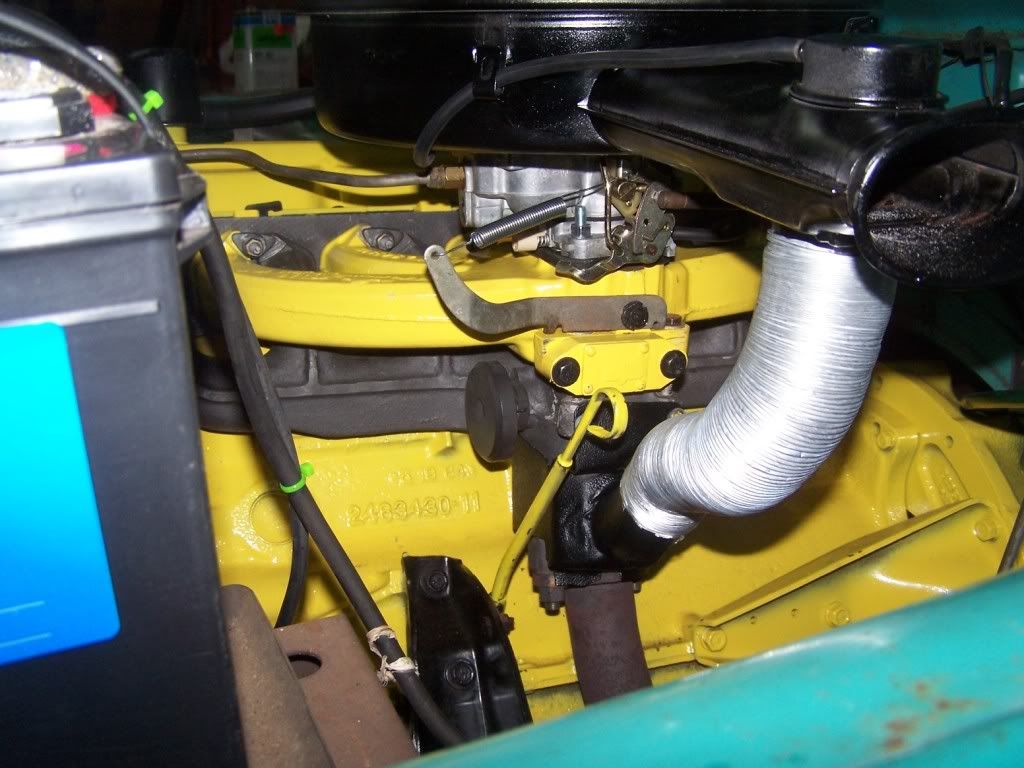
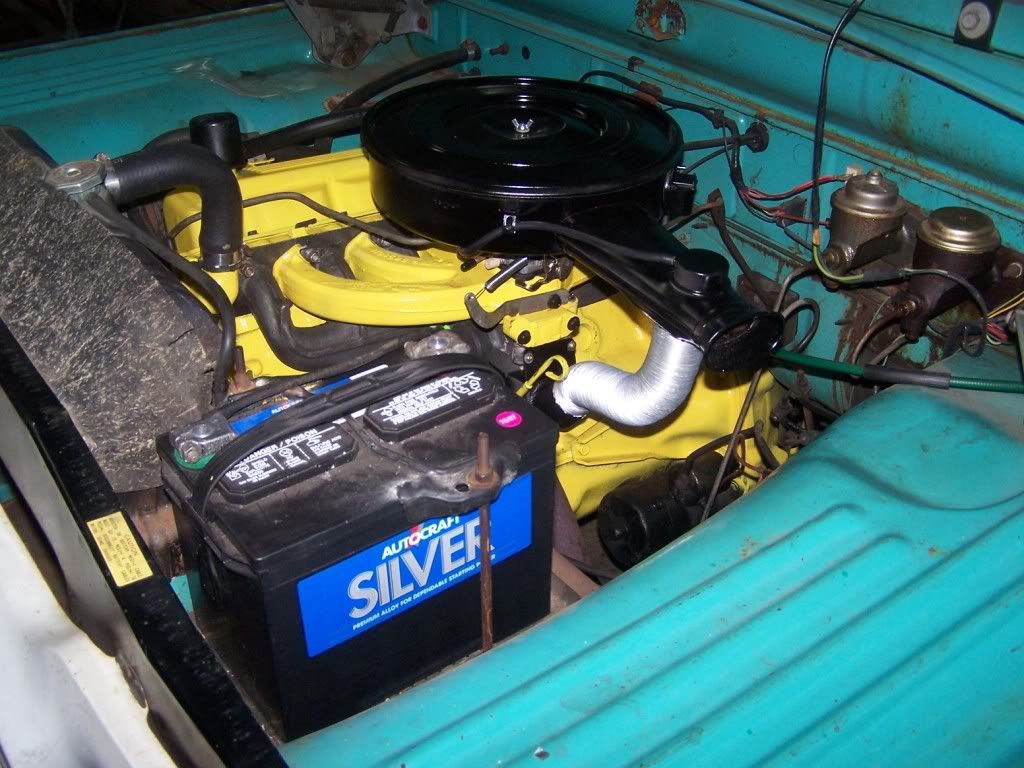
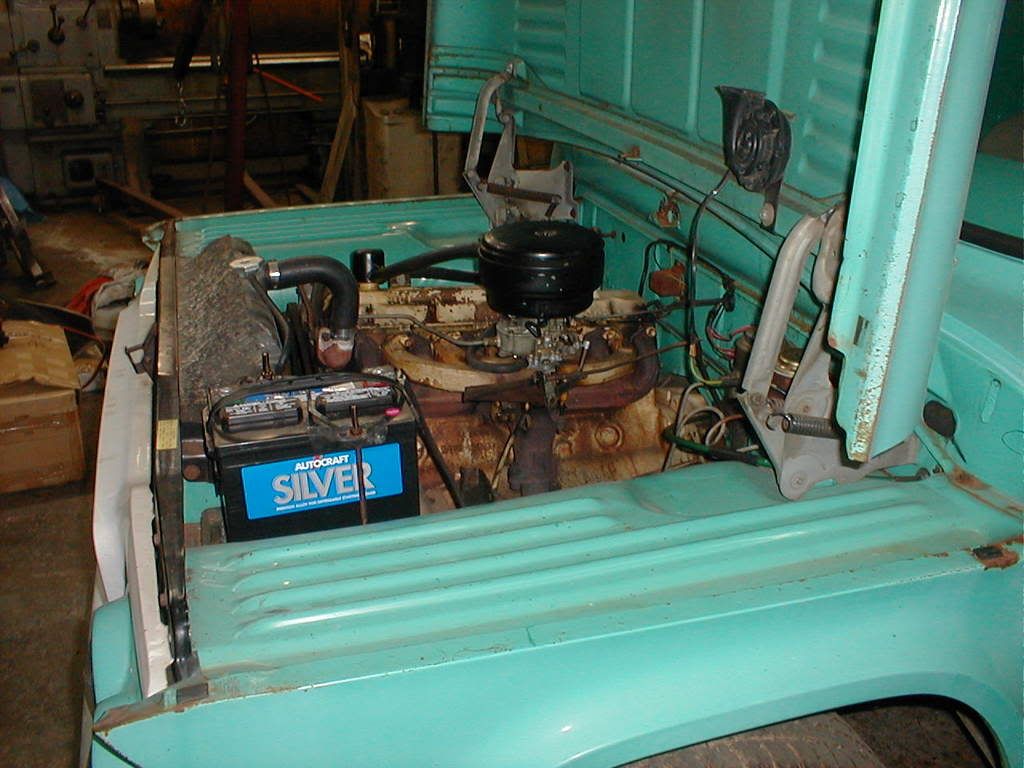
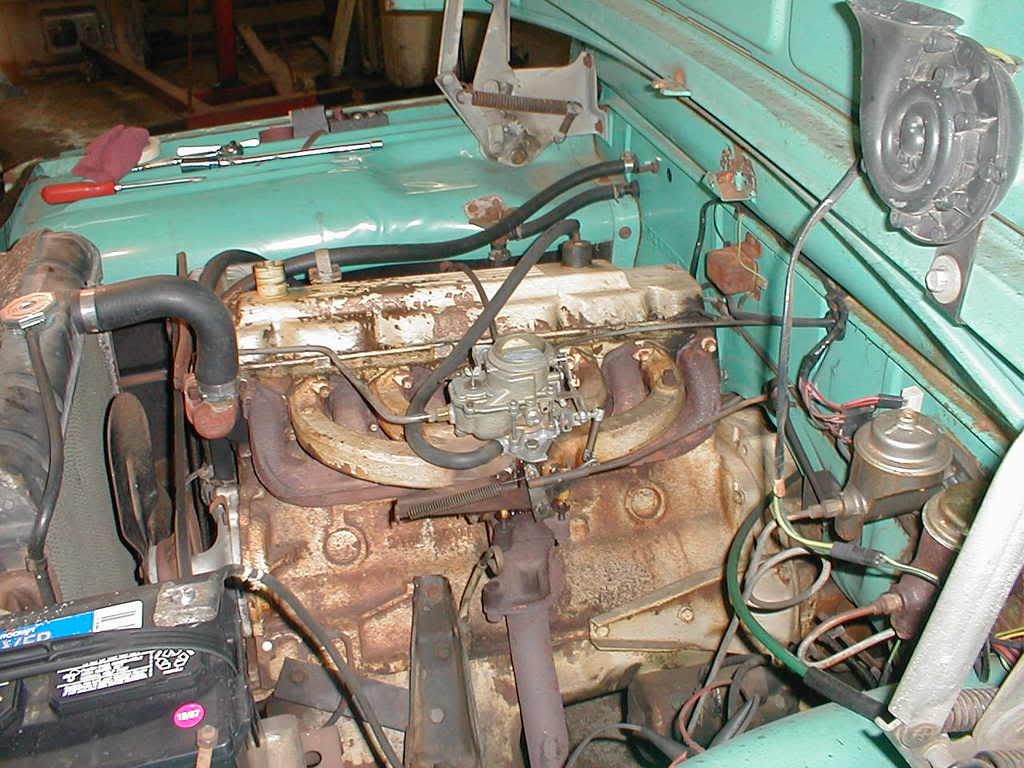
I was a lot slower than I thought I'd be when I started this thread but I've finally gotten something done. Here is what I started with (Can't see it but the exhaust manifold is in two pieces: I bought a new manifold before the original Chrysler ones started showing up on Ebay. Caused me a lot more work and trouble: I had to mill the hotbox because it was off enough to make one end of the exhaust 1/8" higher and the other end 1/8" lower than the intake" I made a cardboard template of my head to port the scraggly exhaust ports with - notice the intake ports are a little to the left... Had to move the center hole in the intake to fix that. Also, the gasket would have worked but I would have wasted a lot of metal and there wasn't much to waste: I tapped the EGR hole in the 2 barrel intake for a plug: Then after moving the center hole on the intake to make it line up, I thought I was home free: It's been mentioned many times that there are two studs that are very hard to get the washer and nut on - the two center/bottom ones. You really only want to do this once but lucky me had to do it twice. I didn't count on the bottom tabs of the new exhaust manifold being too long and hitting the block just under the head. I didn't think much of it at first but then decided not to leave it to chance and took the manifolds back off to fix the problem: The second time is alway hardest but now I don't have to worry about the manifold sliding back and forth and catching on the block. Fact is, it still wanted to rest on the edge of the block and I had to lift it a nudge before tightening it down. It still wouldn't actually mount low enough for the intake to match the ports in the block exaclty. My heads need to be ported but that isn't in the plans at the moment. It's only a very slight amount and will still bug me after all that planning but it still fit's 300% better than what I took off: |
Author: | Ross [ Thu Nov 03, 2011 6:21 pm ] |
Post subject: | |
Thats coming along nicely! what kind of paint did you use? |
Author: | 65Dodge100 [ Fri Nov 04, 2011 2:49 am ] |
Post subject: | |
Thanks! I think I settled on Dupli-Color yellow engine enamel. Prep work is the most important part. I sandblasted everything possible and scrubbed the block with everything I could think of. I started with three different brands to pick something close (nothing was close) and I may have mixed them up since it's taken me so long to get time to work on this thing. I hope not, I still have to paint the other side of the engine... I painted the intake around the hotbox with VHT then painted the top with Dupli-color to make it match. I used Eastwood's manifold paint on the exhaust. Danny |
Author: | Ross [ Fri Nov 04, 2011 9:15 am ] |
Post subject: | |
Ok thanks. When I painted mine it was just to see what the color would look like on it. I just scrubbed the block with degreaser a few times and rinsed and let it dry. I used rustoleum 500* engine paint. For my exhaust and intake I used rustoleum high temp 2000* paint and hasn't faded yet. |
Author: | Jljde [ Fri Nov 04, 2011 10:40 am ] |
Post subject: | |
Wow...that looks great. |
Author: | Wesola78 [ Fri Nov 04, 2011 2:40 pm ] |
Post subject: | |
Your slant is lookin' good! Hang in there! |
Author: | 65Dodge100 [ Sat Nov 05, 2011 9:14 am ] |
Post subject: | |
What is really bad is what a waste of time it all was. I can just see Doug pointing to the spot where the exhaust manifold is going to break and shaking his head. I agree with him. I just wanted to see if it was possible, one last time, to do everything perfect and see how long it lasts. |
Author: | 65Dodge100 [ Mon Mar 26, 2012 11:18 pm ] |
Post subject: | |
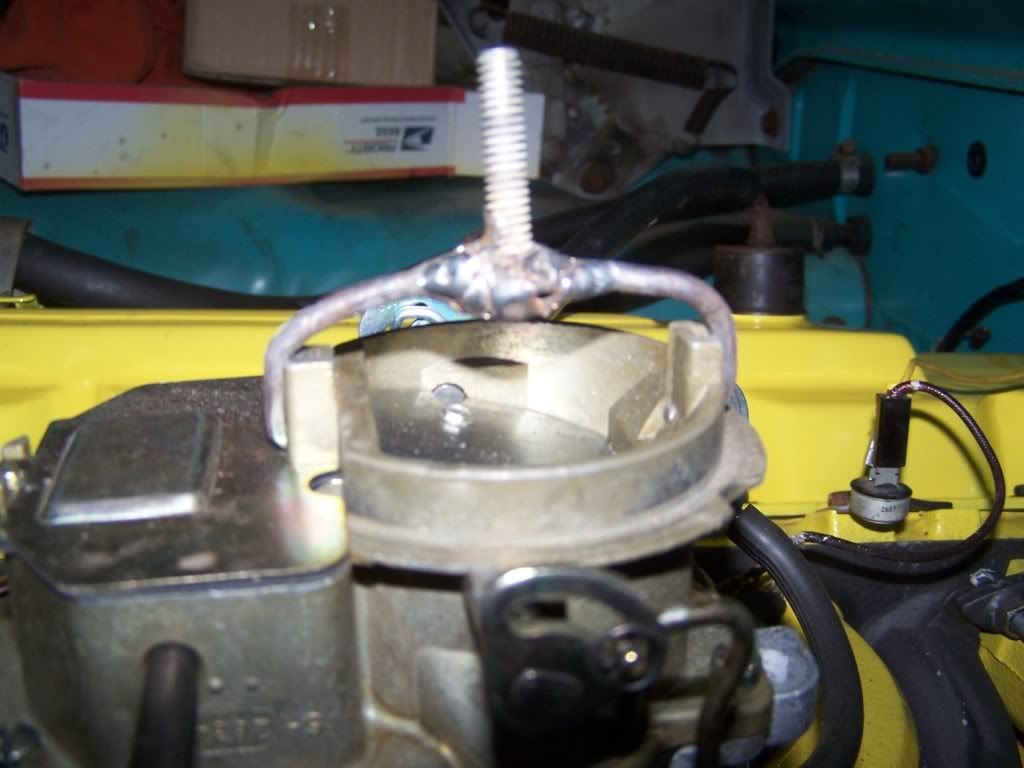
Got a few more days to work on the truck. It looks done but "project creep" has set in pretty good. A few things had to be done and for the overall project there are still more. Rust is starting to be a problem on the body. If I don't fix it now it will be a huge problem. I can't take it out of the shop until some of it is fixed. All the cracks where panels were put together have lost their seam sealer and started rusting. The roof and a couple other places leak and fill the floorboard with water. No damage yet but there will be. All around the edges of the bed floor are starting to rust for the same reason. It doesn't have even a ding in the floor so I don't want to be the one that let it rust through. This thing has been in the family since it was new and the next generation will be judging my work. One of the original rubber coated tailgate chains has rusted completely off. The other is almost rusted through on a couple of links so I can't trust it to put any weight on the tailgate. That rubber coating looks like a good idea but I don't think it was. Since it has been sitting for 4.5 years the front brakes locked up. Wheel cylinders are impossible to get at local parts stores. I found an online store that lists them but the picture is wrong so I would have to make them get one in their hand and describe it to me. They changed a year after this one and they are plentiful. Both of mine were stuck and looked like they had been packed with grease. Of course they weren't - I rebuilt them just a few hundred miles and 12-15 years ago. I thought I wouldn't be able to save the right one but finally got the piston out. The cylinders look great. It just doesn't like sitting. While I was at it I installed new brake hoses front and rear. Some things just need to be done to upgrade it. We are hammering out the kinks for a headlight wireing upgrade with relays. For this project/thread, All I really need is a relay to finish connecting the choke. Change the oil and clean the right side of the engine to paint it. I also hooked up my Pertronix wrong years ago when I didn't really understand the ballast resistor and have to re-run the wire from the coil, where it is now, to a 12V source. I drove it for the first time today (since November 2007) and was a little disapointed. It's a real dog. Has a skip I have to chase down. I was expecting a little more power after all that work and upgrading to a 2BBL carb and still might get it after working out the kinks. Sure felt good to hear it run again though. I've been trying for years and never could chase down a bail/bolt/thingie to hold down the air cleaner so I had to make one. It works but I call it a "rough draft". It's definitely not beautiful. |
Author: | DadTruck [ Tue Mar 27, 2012 7:44 am ] |
Post subject: | |
what a nice old truck,, and its L:D K'n good! |
Page 1 of 2 | All times are UTC-08:00 |
Powered by phpBB® Forum Software © phpBB Limited https://www.phpbb.com/ |